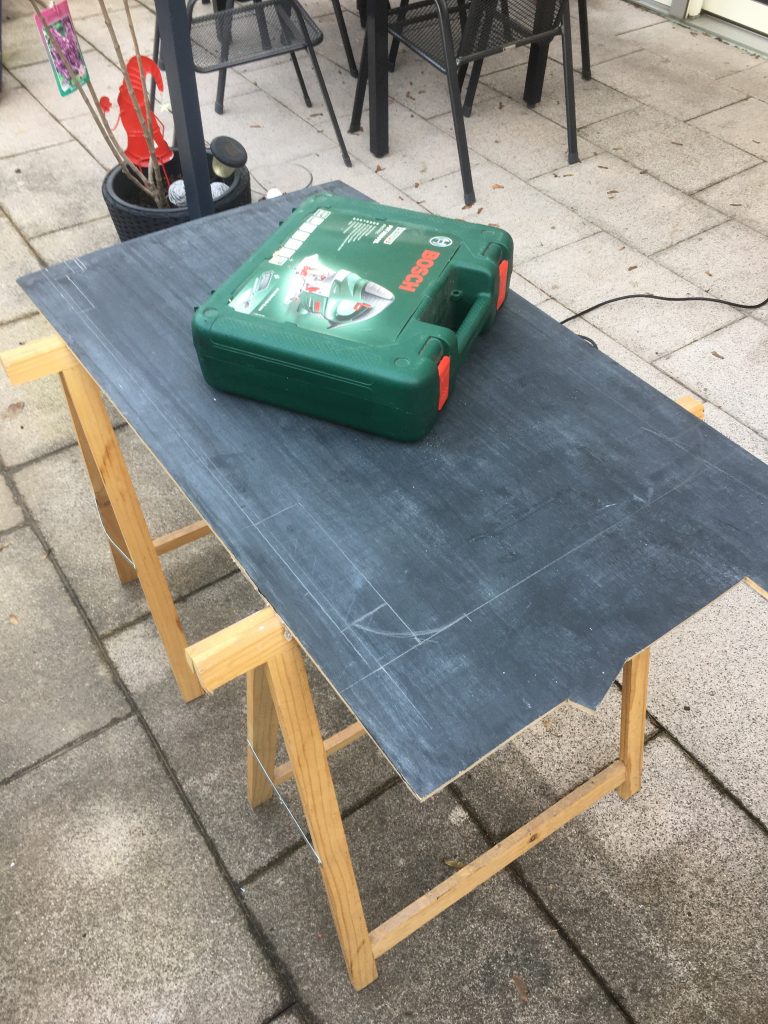
For my Packhorse-Project I found out researching online that the preferred alloy floor “riffelblech” pre-cut is quite expensive. Even without custom cut still a relevant amount of money of ~50 €. I for sure wouldn’t want to waste my money buying the wrong size and finding out later that it doesn’t fit. I had an old wooden plate in the garage which I had painted black with a chalkboard color once for the kids. But they never really used it so I chose to recycle it for my prototyping project today.
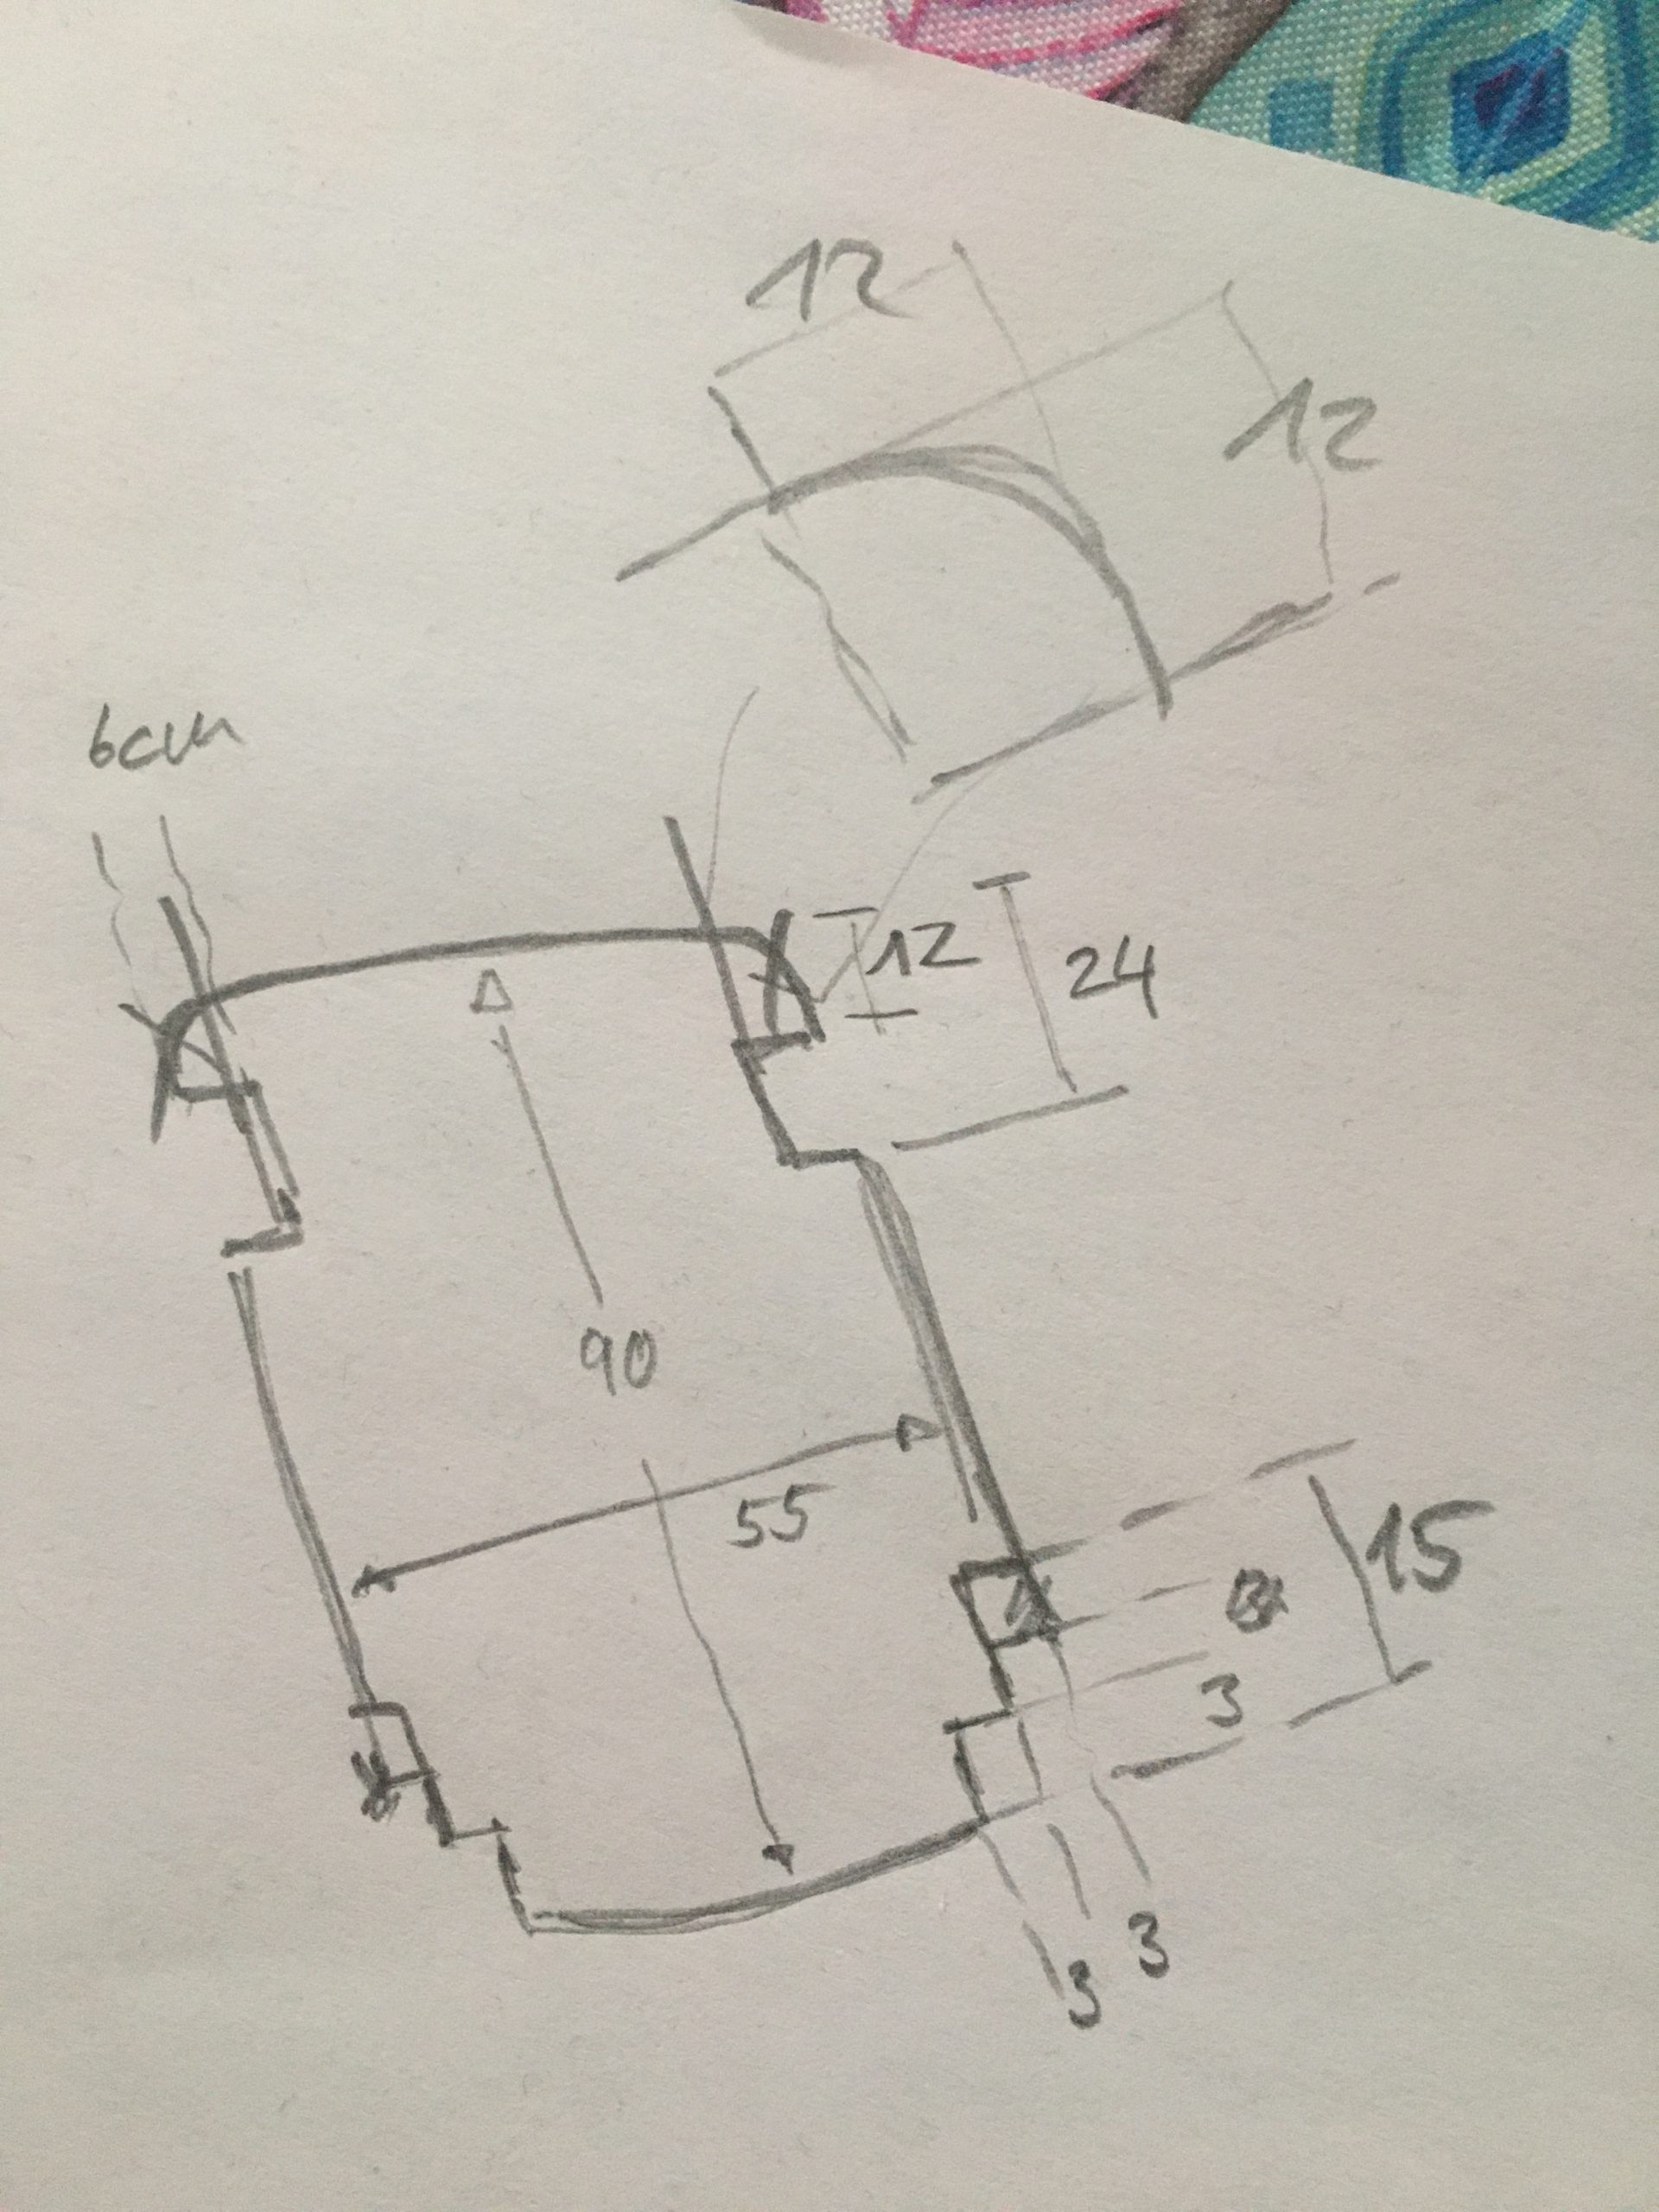
First I measured the required size and sketched it onto the wood. Knowing it would never be really perfect after measuring in a tight space and without having a clear view onto the measuring tape at times. So I got my jig saw out and prepared it.
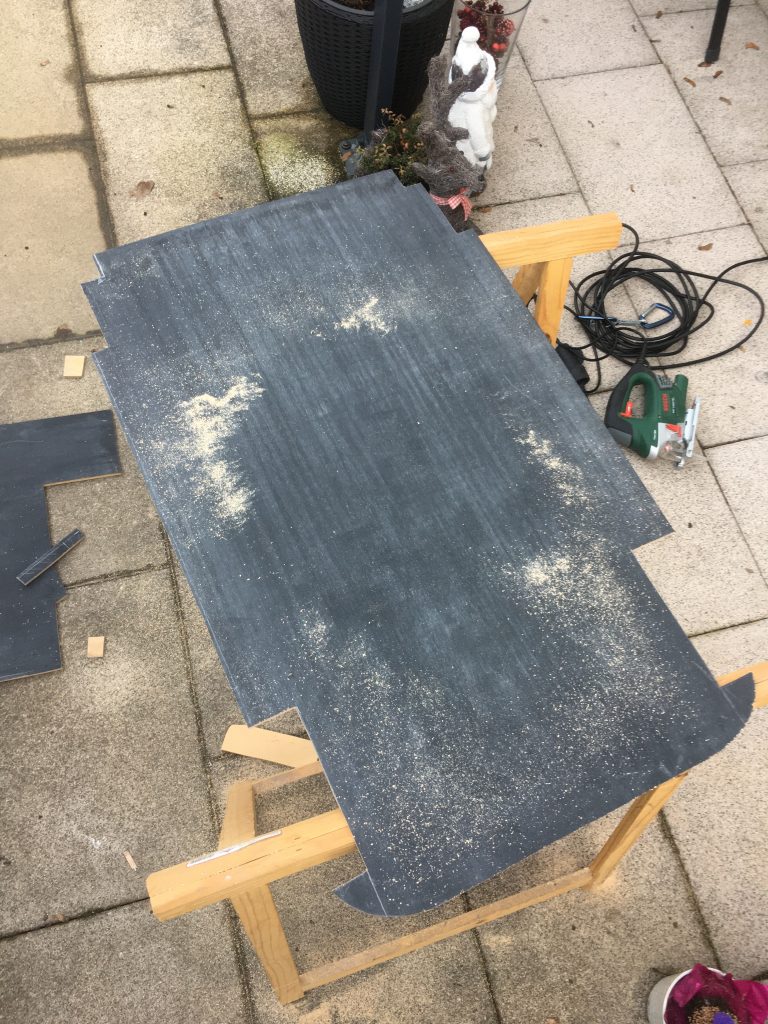
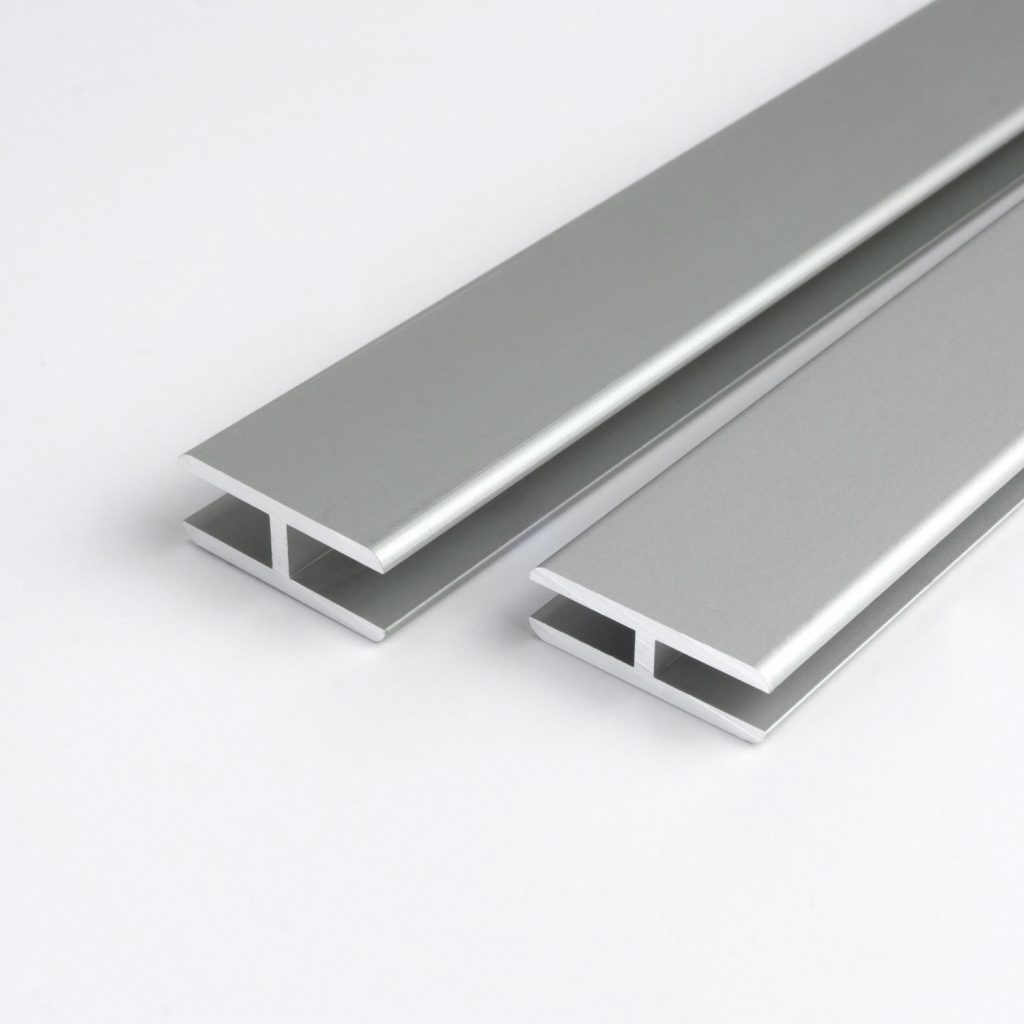
Looks all good – yet no chance of maneuvering that one inside without taking the whole trailer apart. Hmm – that would be a larger endeavor which I don’t have enough time for today. So I chose to cut it in half to finish the prototype and learn further lessons. I think I might even opt for that strategy with the final floor in the end. I remember you can get (I have no clue at all how they are called) pieces to connect two plates together. As always google helps: “H-Profil” – not sure if h-profile is the correct translation. So here a picture:
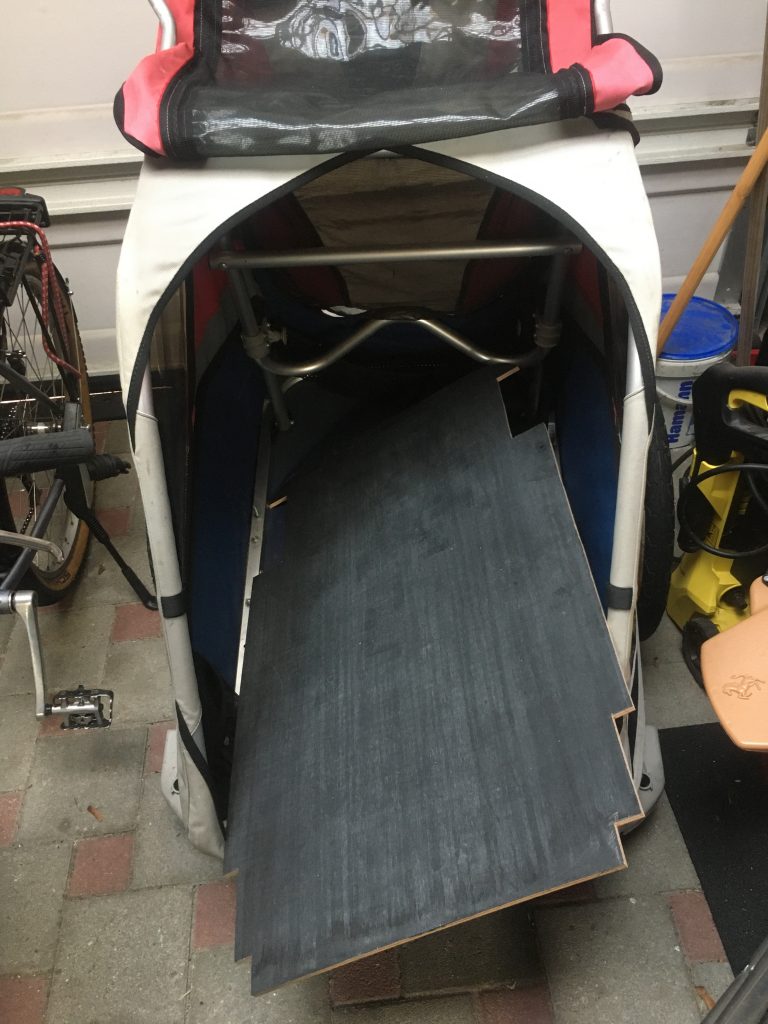
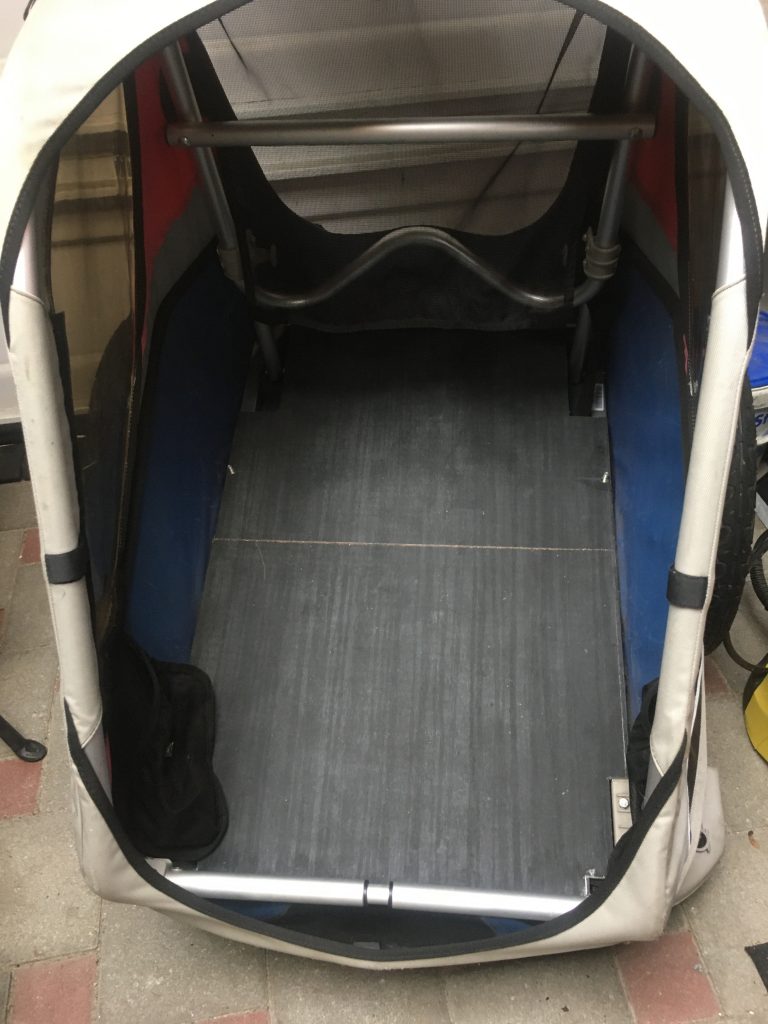
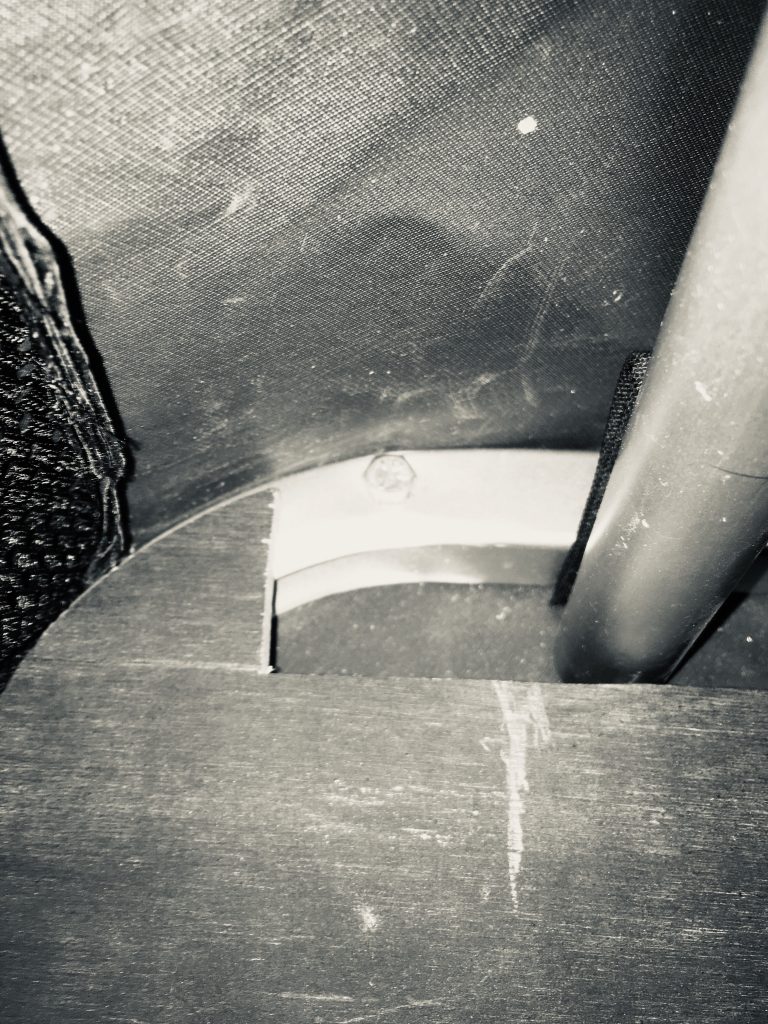
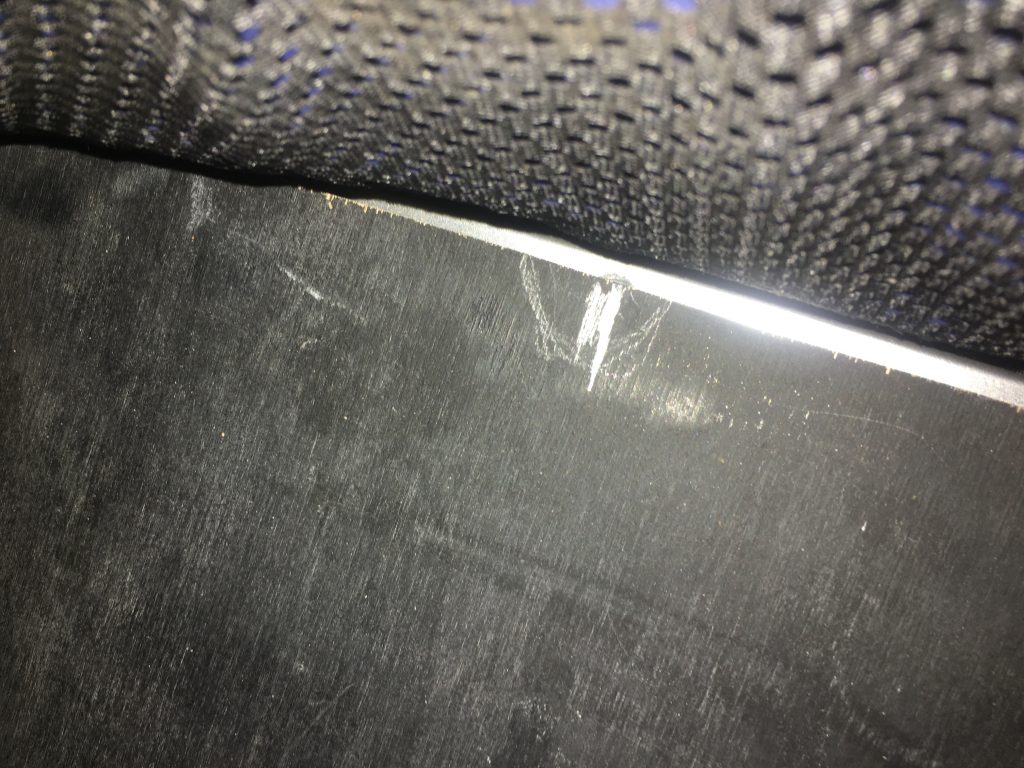
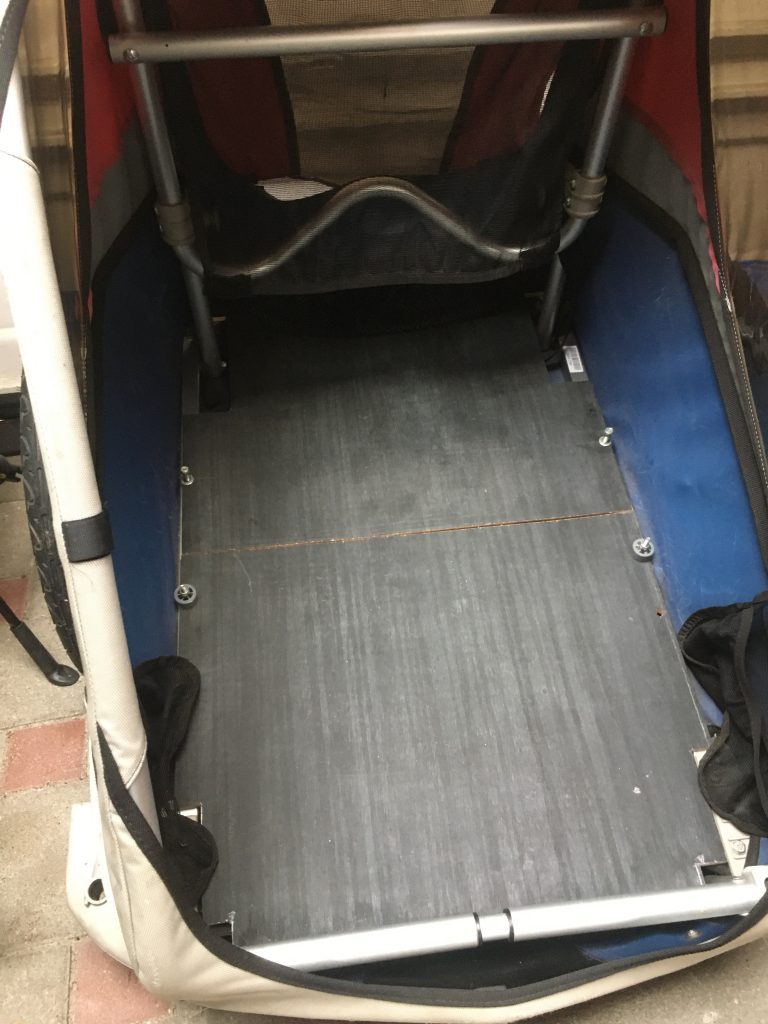
So let’s continue the project. First test looking good now. The floor nicely covers the whole width and length. You can still fold it together if you want to transport it or tuck it away nicely. The measurements in the back are off. The curve is spot on but I must have had some wrong thought or number in my head for the space from the back to the pipe going upwards (3rd picture). I looked at the plan again and I guess the mistake happened when I put the marks on the wood. Hmmm – that’s the reason for prototyping I guess. 🙂 When I finalize the project definitely getting that one closed up.

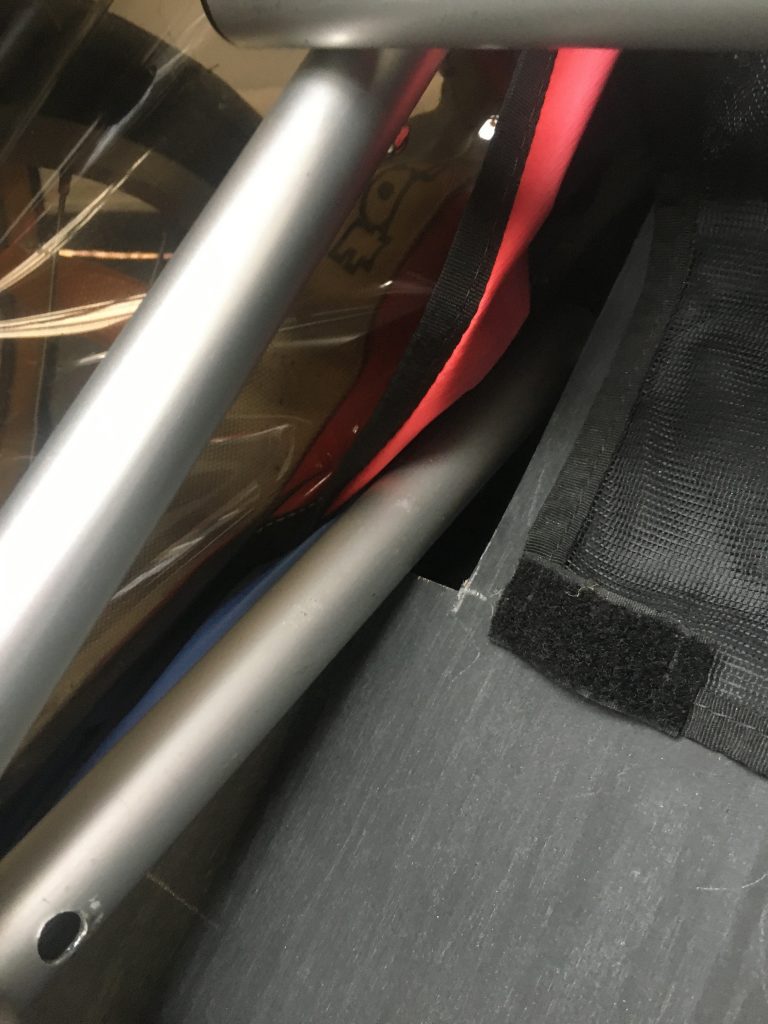
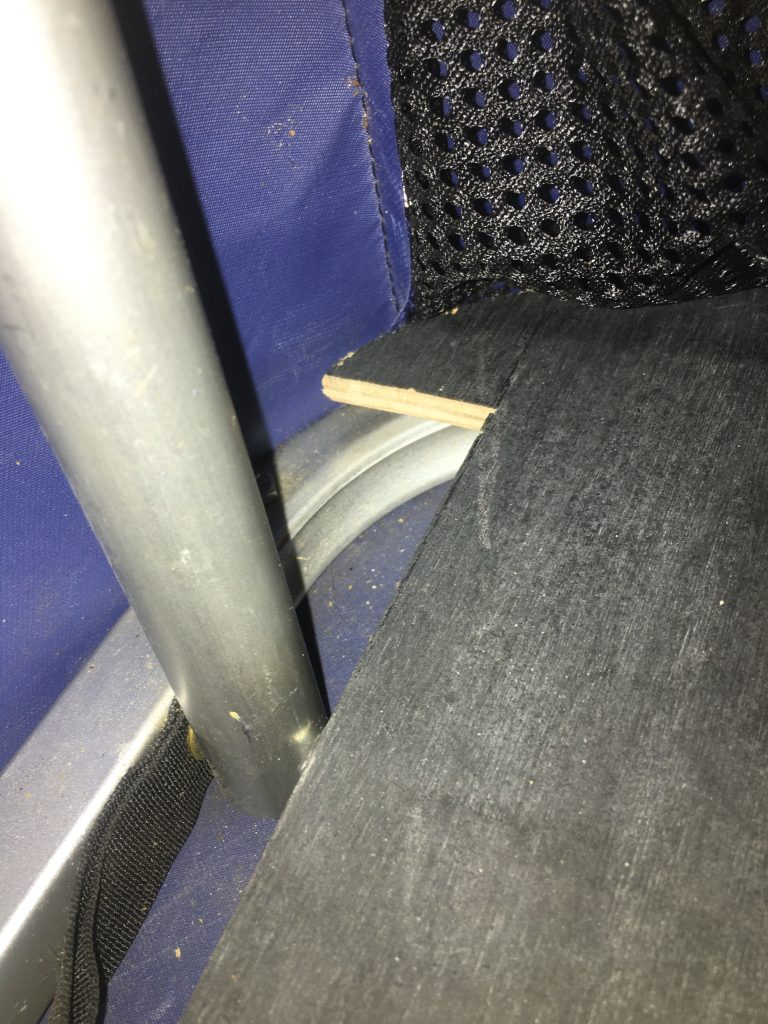
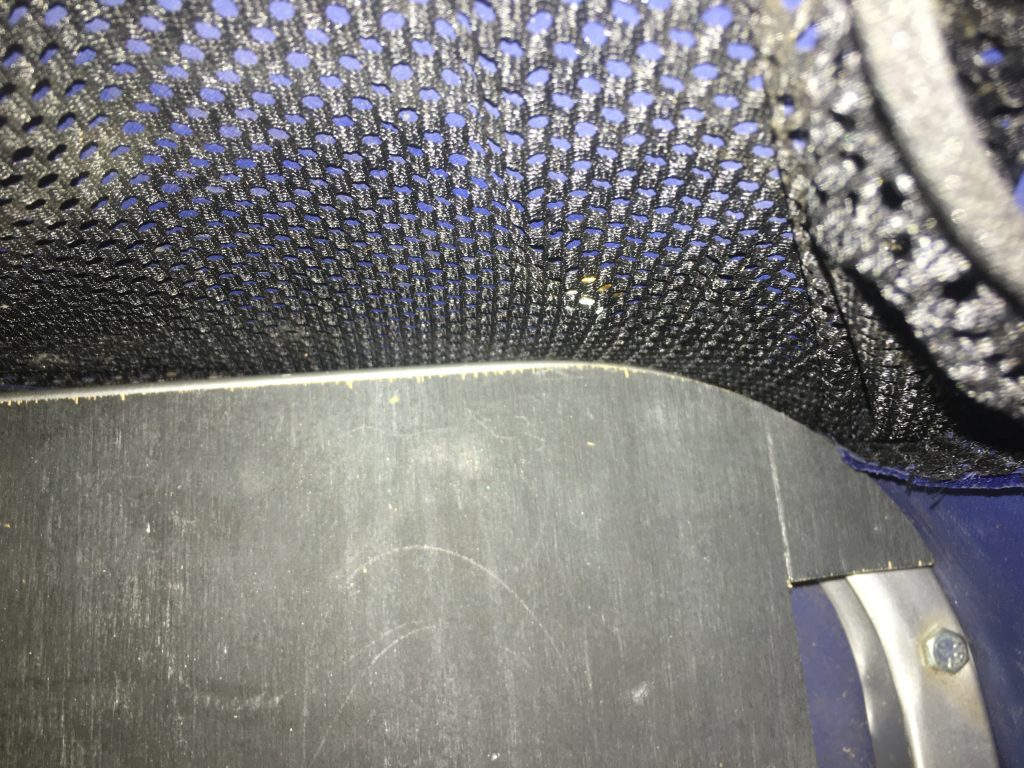
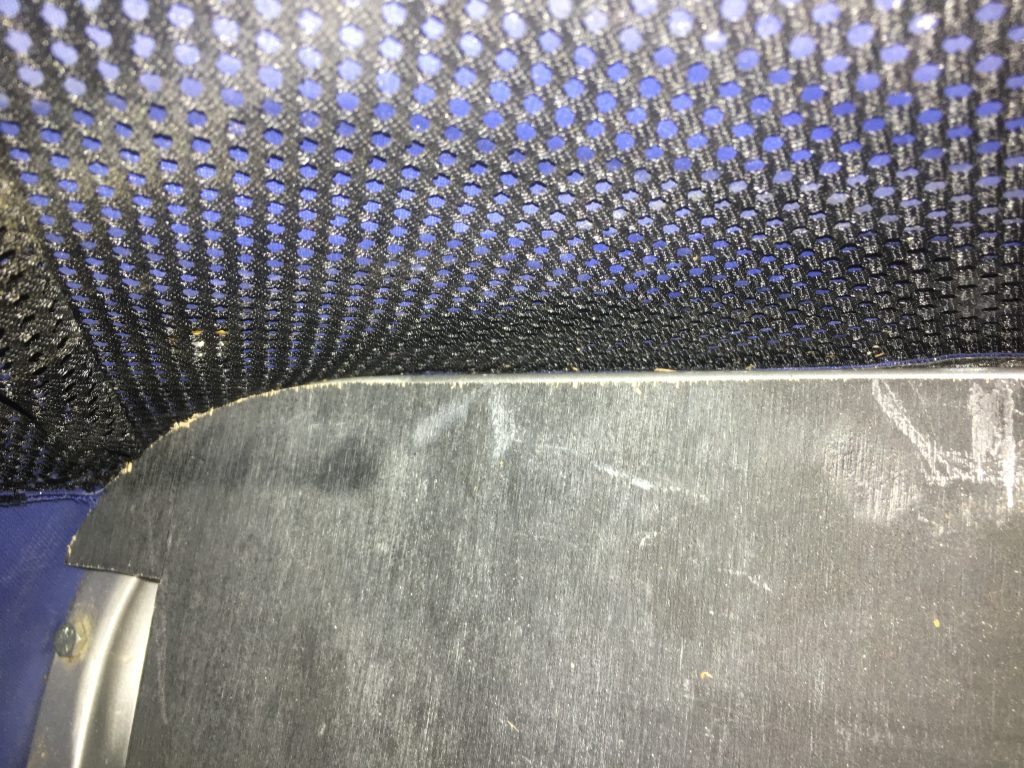
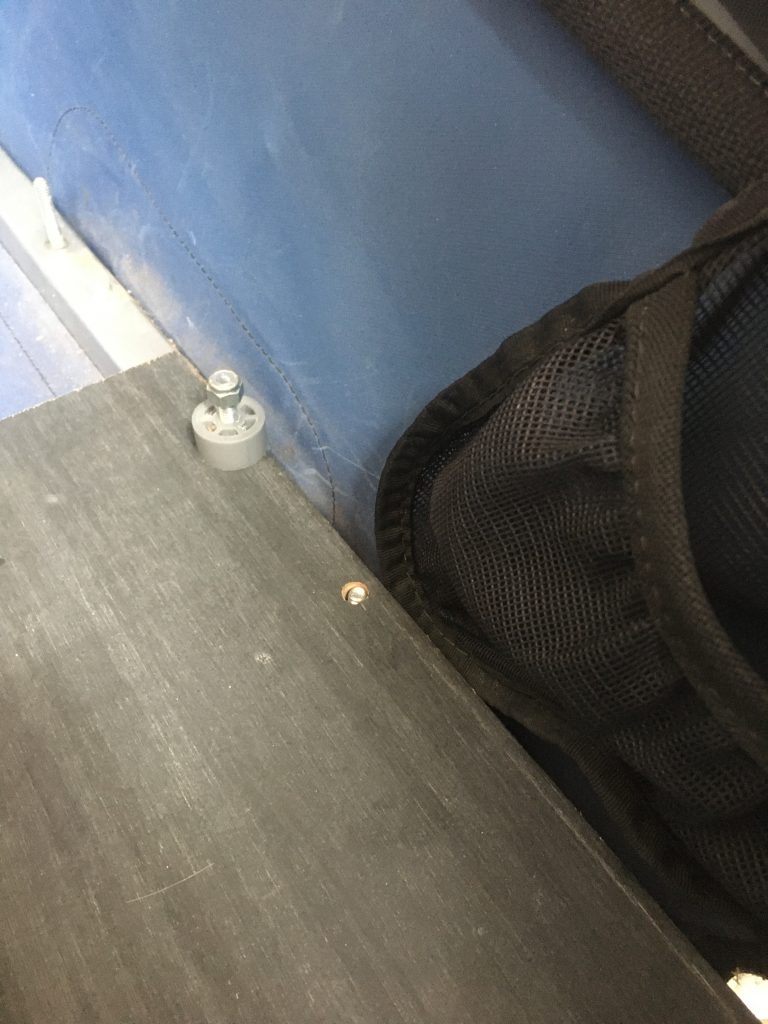
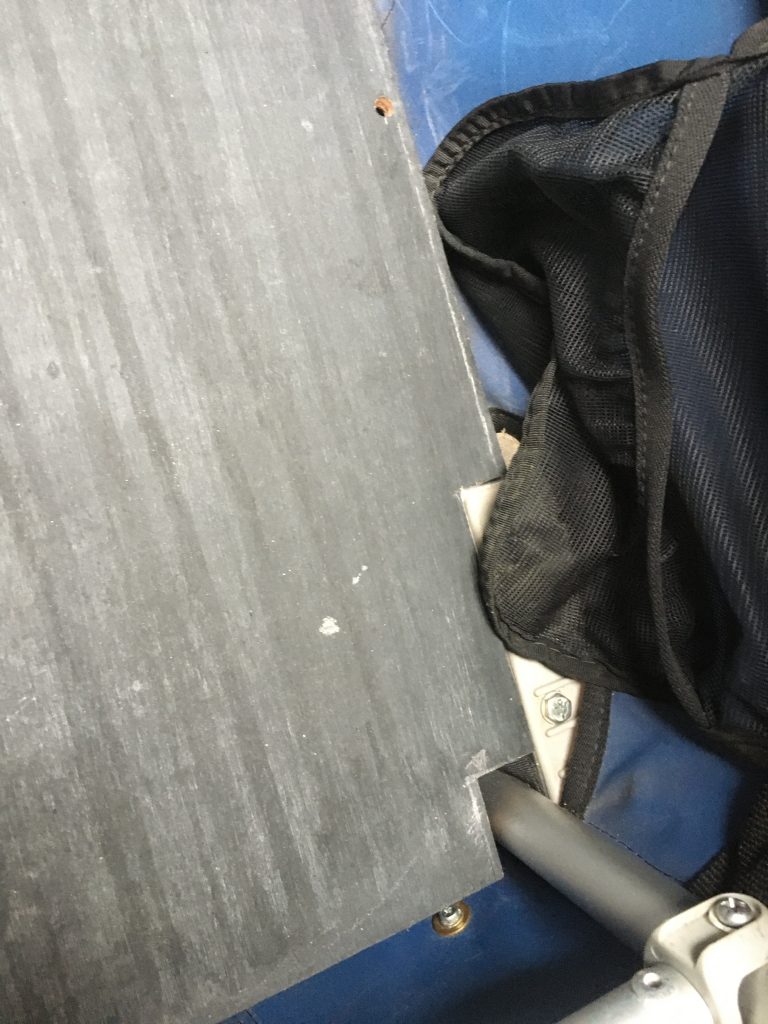
In the last picture I already drilled two holes for the screws (that can not be easily removed). Now this gave me an ever better look on the fit with the wood almost directly on the frame of the trailer. So my next step was a close look at the back of the trailer. As good as the curved parts were in the middle it could reach further back. In the bottom right picture you can see the screw in the back is juuuuust covered enough to fit through the wood and I could even opt for some additional length to close the gap to the outer fabric. And top left you can see my mistake. But in the next version it should be easy to close the gap and even include that screw in the corner to hold down the plate.
Next step was to add the remaining holes for the screws to go through. Unfortunately the ones that came with the trailer are not long enough and I didn’t have any lying around in the garage. And the stores are still closed due to the pandemic 🙁


So since I might need the trailer before I can order all missing parts I wanted to make it a working prototype. So I tightened the screws and placed a rubber mat for starters in the middle. By the way… I am quite pleased how the front fits in nicely and snug.
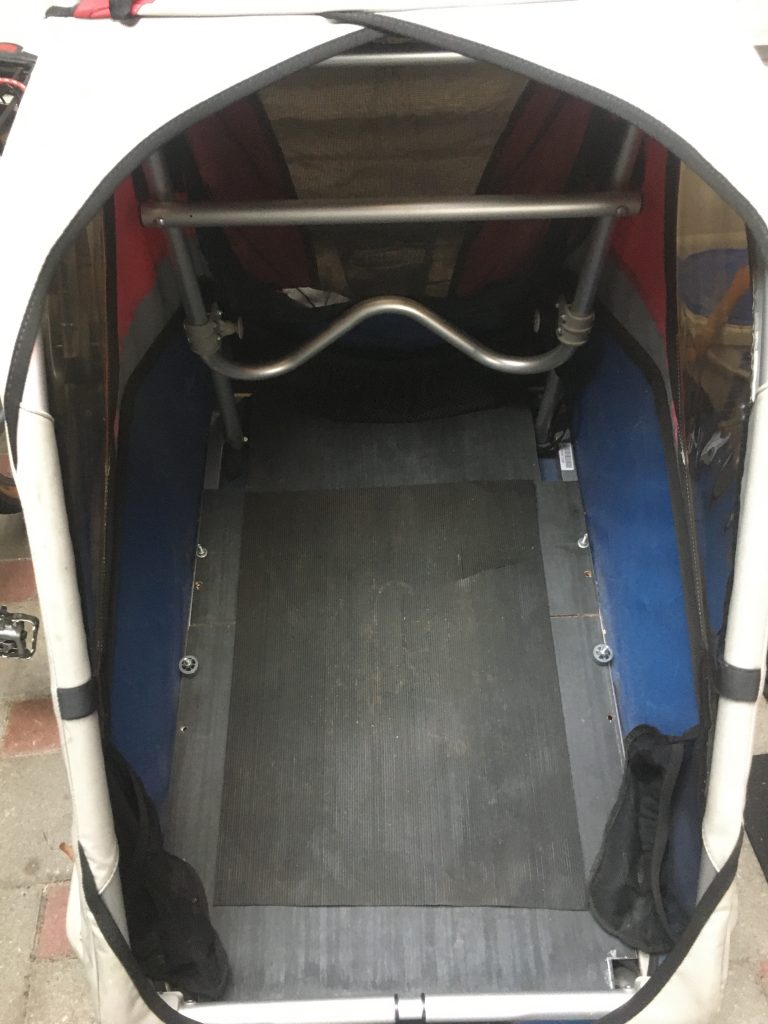
Yay. So this is what you call a MVP (minimum viable product) Guess real life prototyping isn’t much different then software development at work … or the other way around. Who knows. 🙂
What I really like about this approach is that I can test and continue further on my thoughts what kind of parts or mounting brackets I could use to secure whatever I am transporting.