Finishing off the DIY project in good balance of planning and discovery 🙂 Continuing my last blog post about our custom wardrobe.
Preparing a swift execution
With the promise to not keep the construction site open for a long time I wanted to be sure all preparations that were possible were done before I rendered the current wardrobe useless. Along the way of thinking from one of my previous posts I wanted to plan my work to fit into the window.
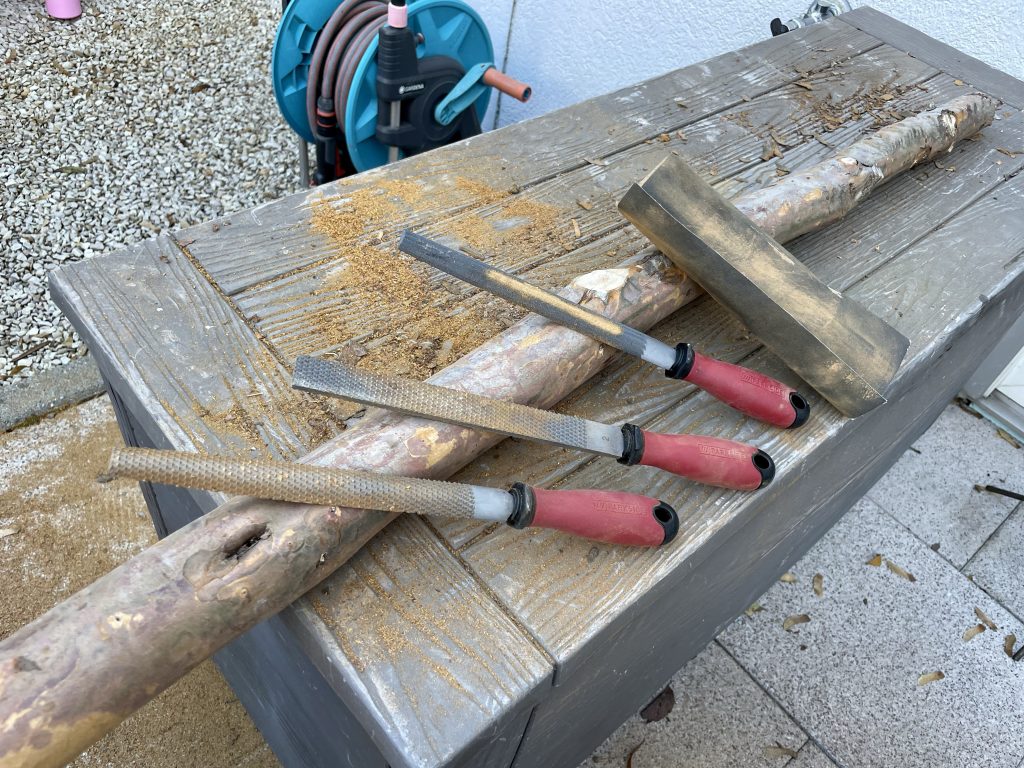
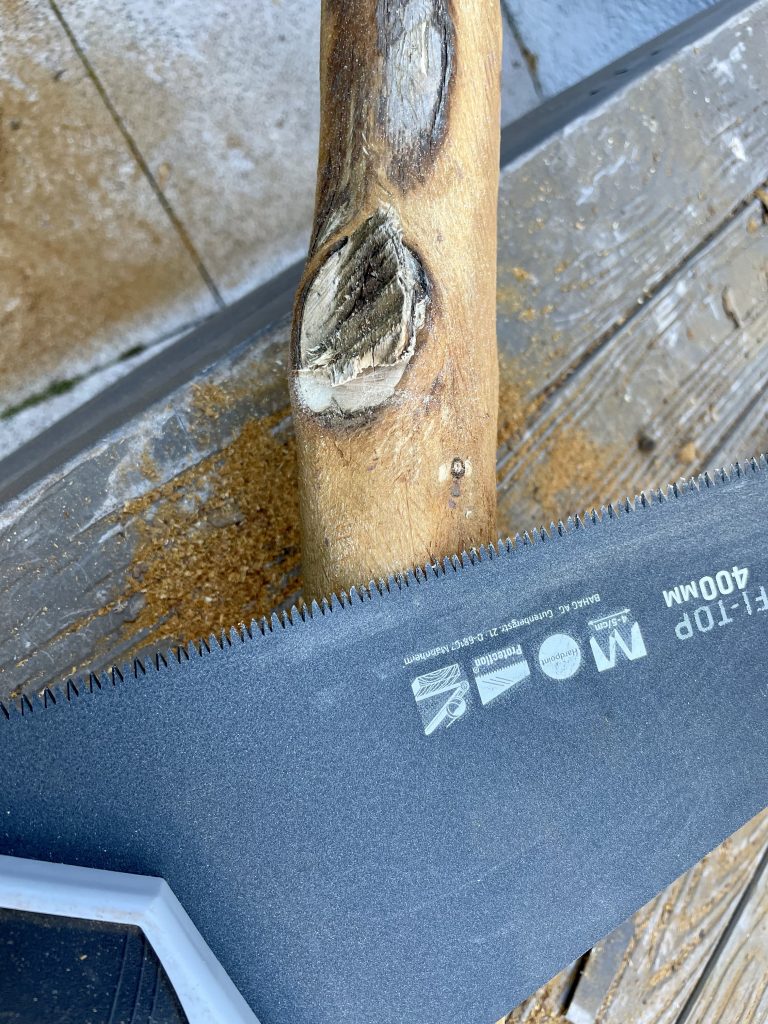
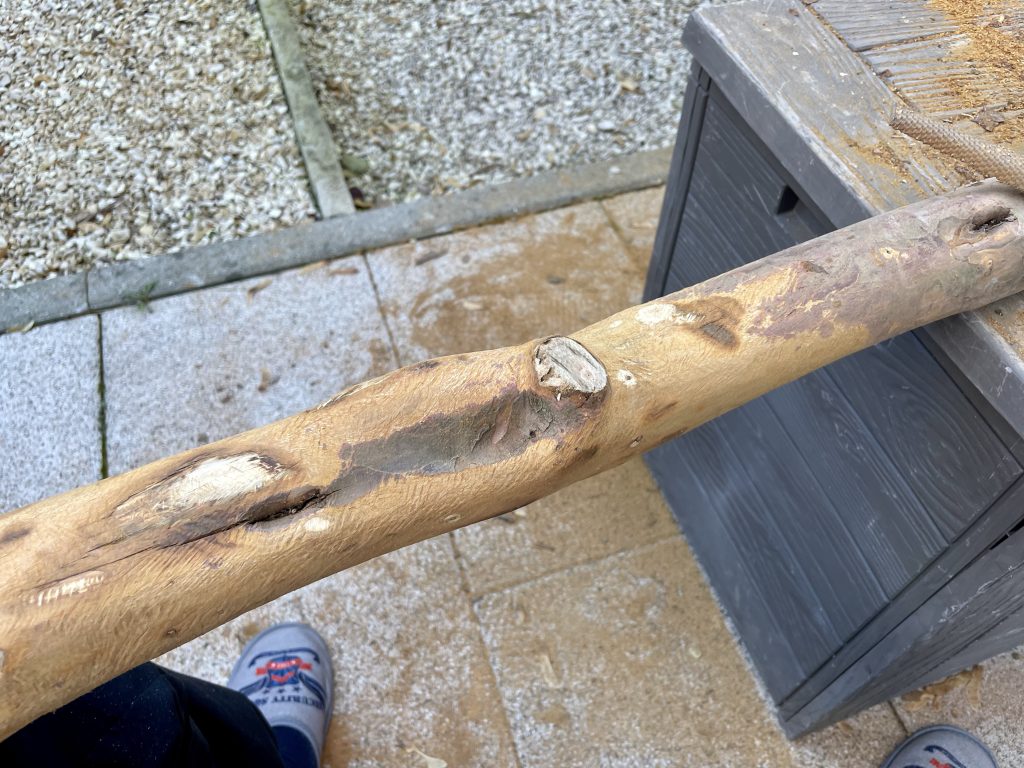
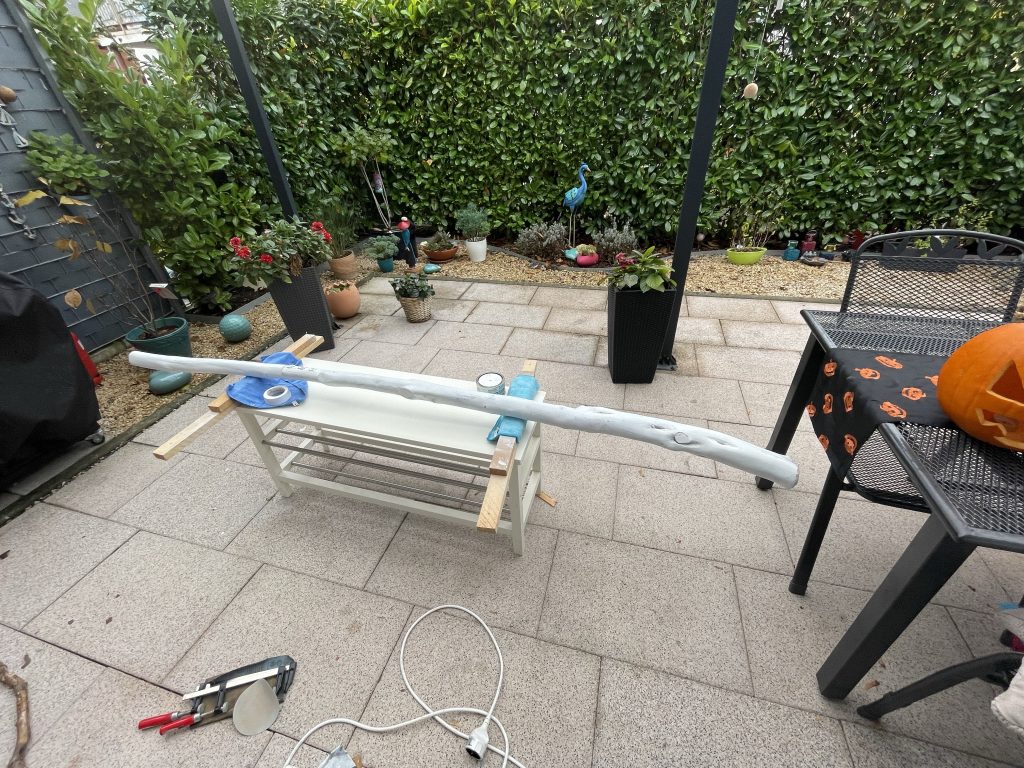
So first I started to sand down the trunk and cut back some old branches a bit more. All to provide a smooth enough surface. This did take quite some time. Then the plan was to prepare it in so called “shabby chic” look. For that I bought two spray colors and some wax to seal it off with. First you spray the layer in the darker color. Then completely cover it with the next lighter layer. After all is dried you can cautiously scratch the surface with some fine sandpaper to produce the wanted “used look”. I found a 400 grit sandpaper was a good choice for that. As soon as I was happy with the level of structure given by the scratches I sealed off the result with the wax I’d bought for that purpose. All the manual work to smooth the trunk and the drying times between the layers meant, that while not much much time was consumed working, the duration was a whole weekend. But the kids had fun being included for the paint job. Proud to contribute to the project!
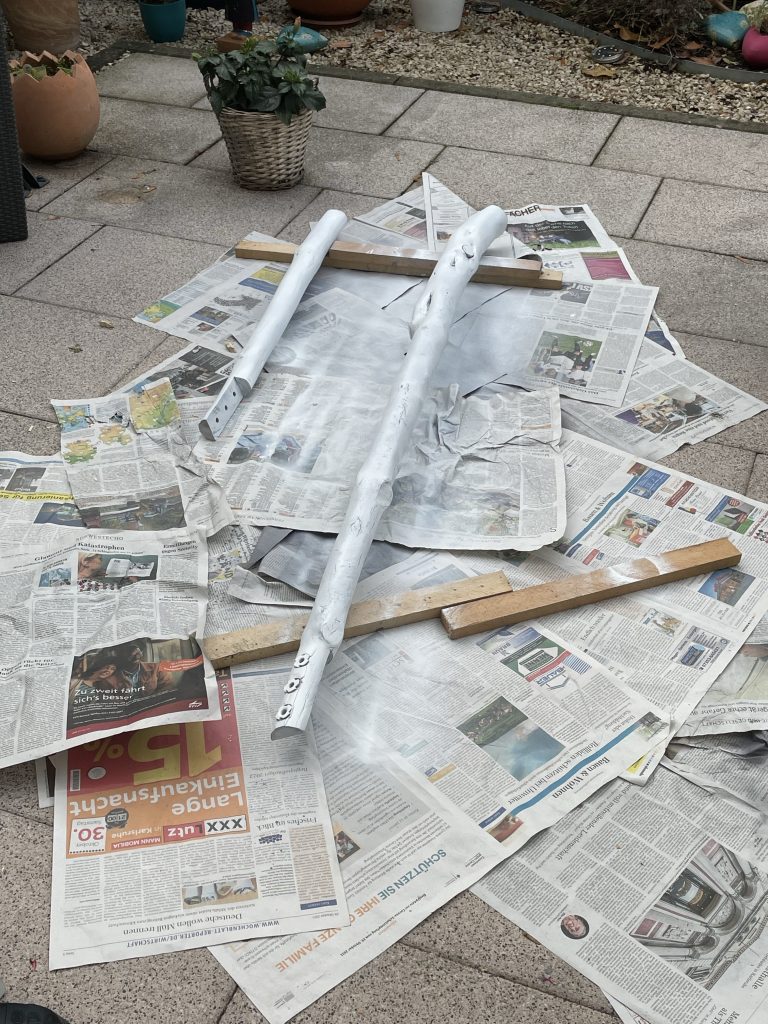
I used the chalk spray paint and wax from bondex: https://www.bondex.de/produkte/innen/kreidefarbe-sprays.
Discovery & Prototyping
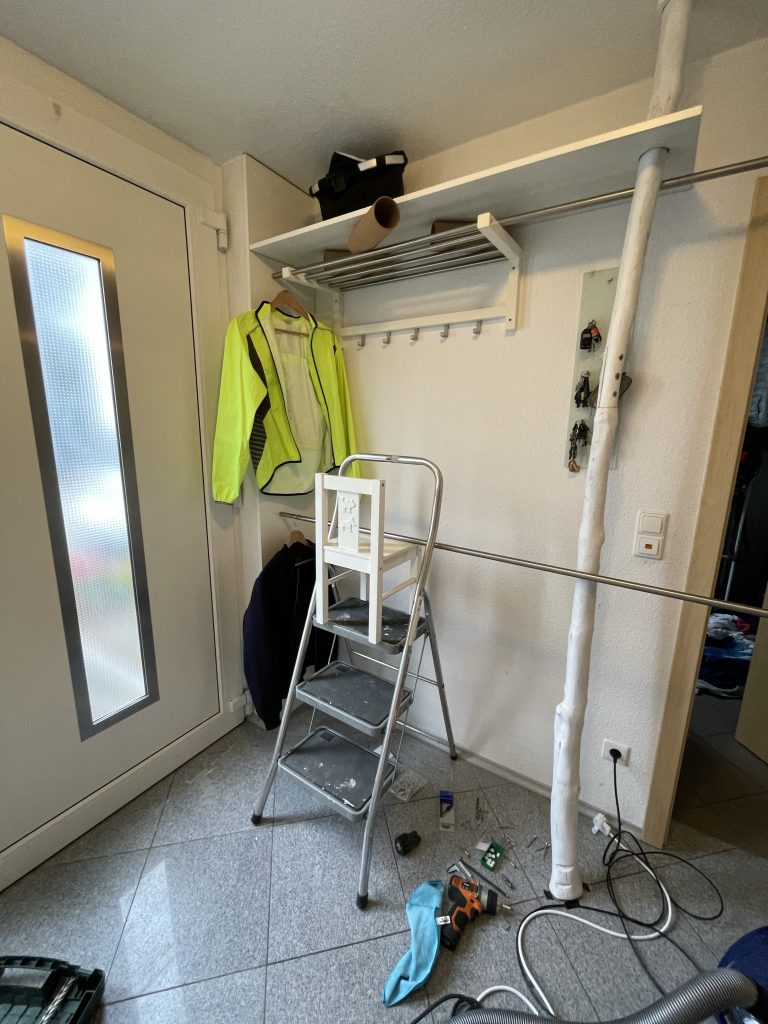
Next part of the project was to prototype the final version and discover the viability of the concept. And one thing I have learned with many DIY projects: measurements are the one side of the story, the other is reality 😀 So before I spent loads of time on detailed measuring work I usually just prototype. In this case the original wardrobe, some cardboard tubes, the ladder and a kids chair helped. Using this method I think it’s also easier to discover solutions to some of the building problems.
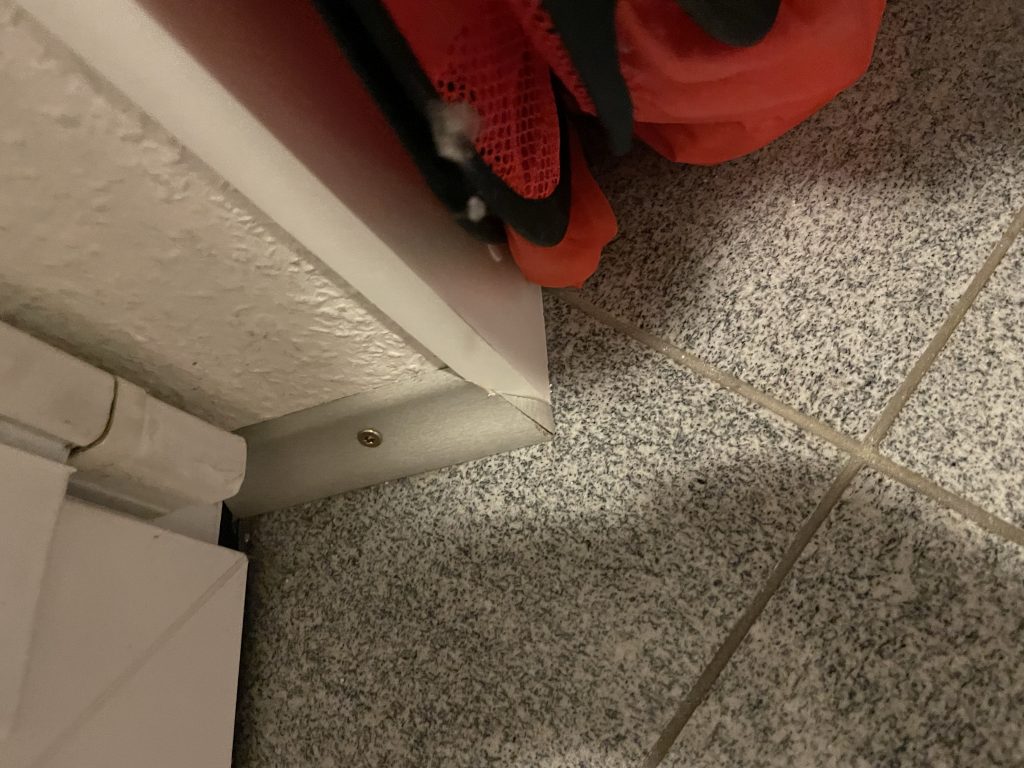
I knew from the jacket test that the coat rails optimum position was 34cm out from the wall. Then I measured the best position of the lower rail. After that it was easy to determine the exact position of the crooked trunk to support this distance for the upper and lower rail. You might be able to see the adhesive strips I used to mark the position on the floor. Did something similar to the ceiling.
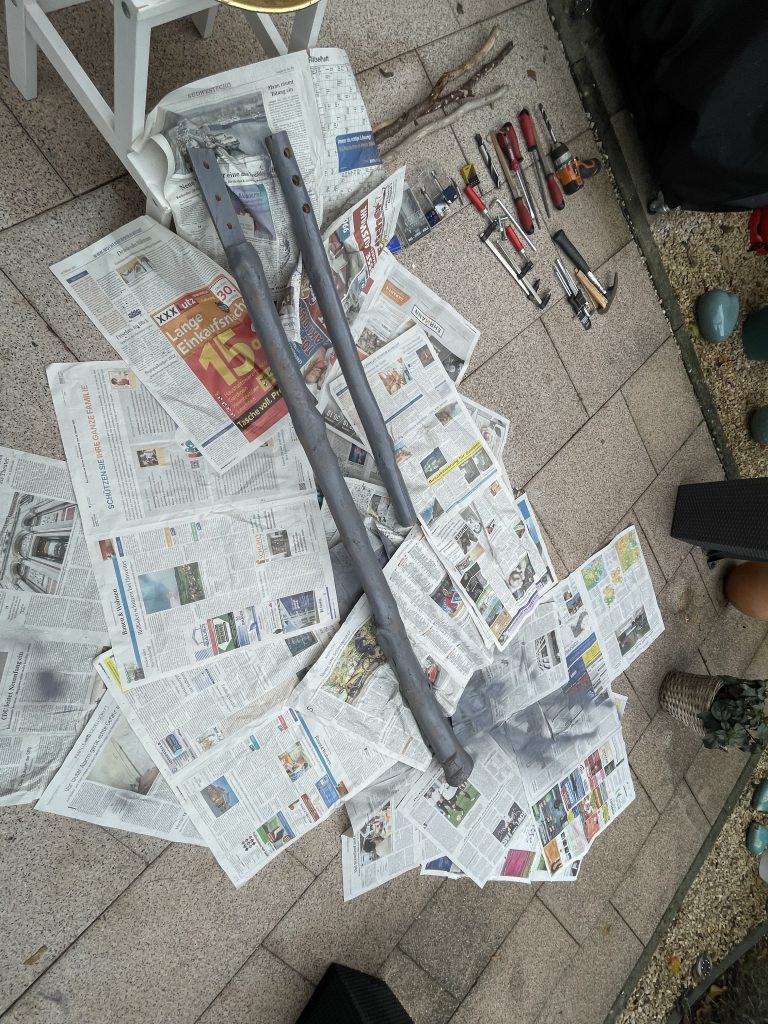
After cutting the rails I put another prototype together. The rails at 20mm practically needed to be hammered into the 20mm wide and 3cm deep holes. The trunk being from very hard wood I discovered there was no need at all to use any other means of keeping these two components together.

Execution
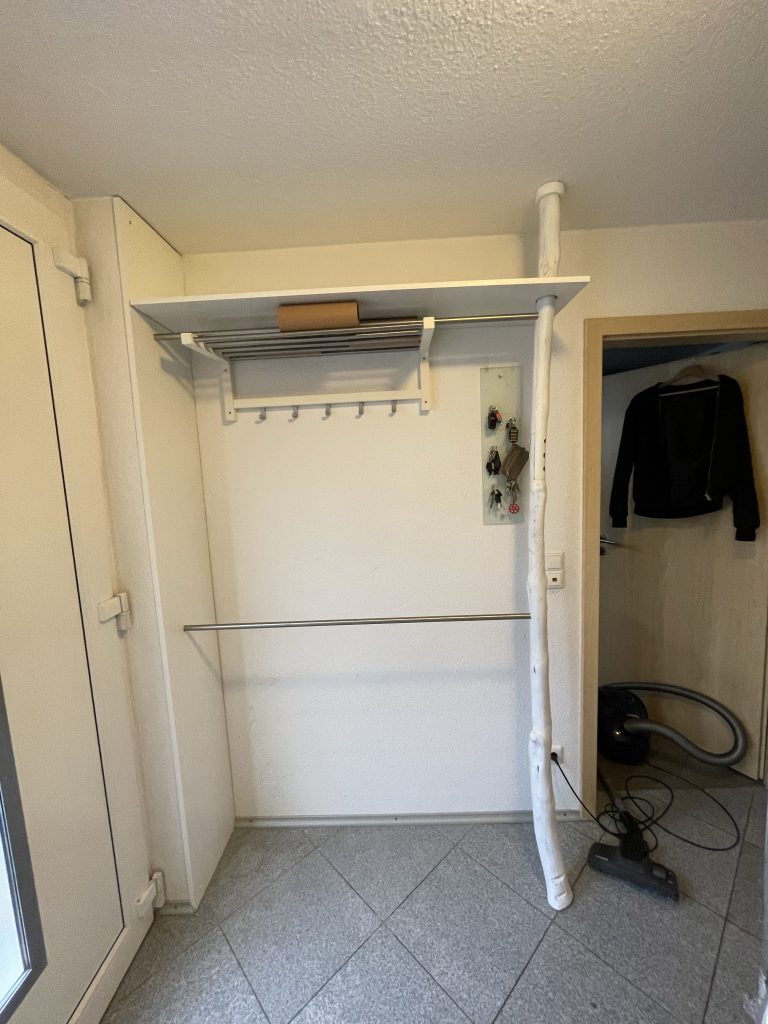
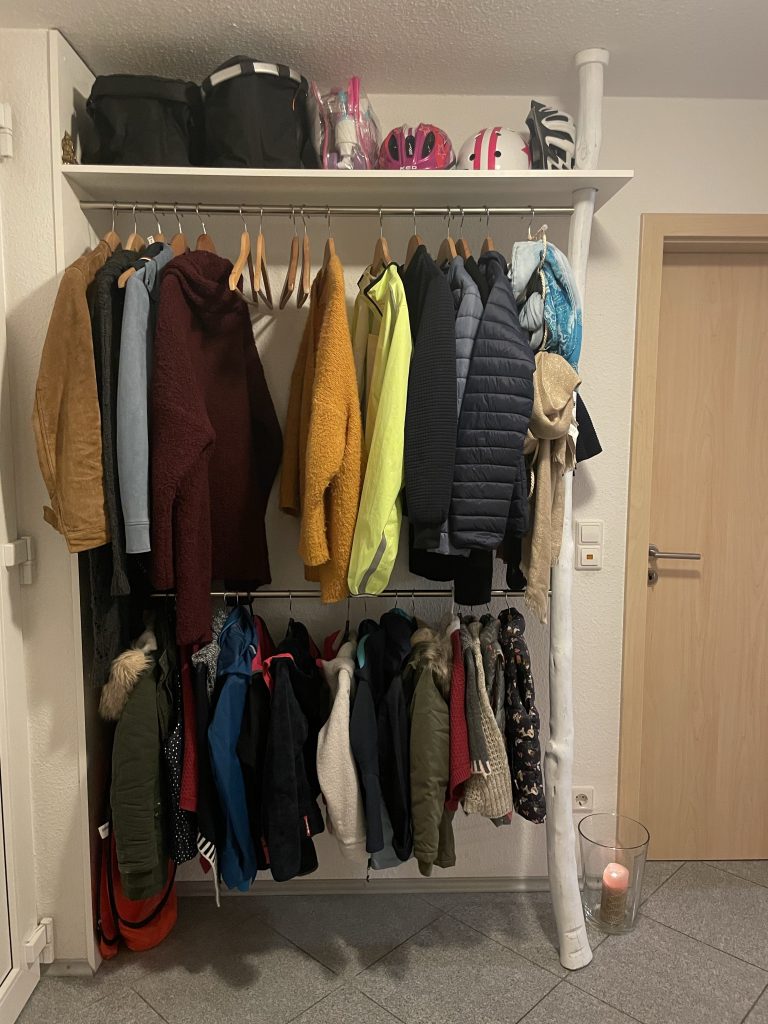
I had to wait for the next morning since you are not allowed to drill holes on Sunday or a bank holiday in Germany. But with all things prepared it was easy to adhere to the minimum downtime requirements of my ladies for such essentials 🙂 I only had to make sure everything was nice and level and then drill the holes. Our new wardrobe is ticking a lot of boxes:
- We have enough space for all our jackets plus visitors
- The kids can reach their jackets themselves
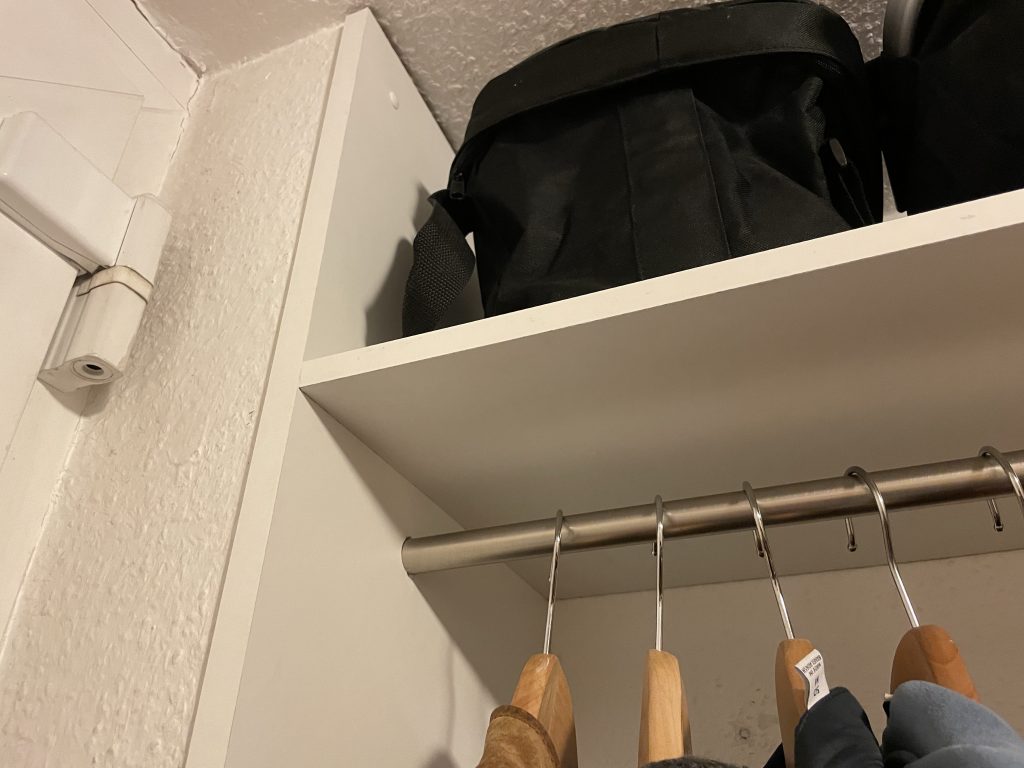
- We can store the bike helmets and baskets easily above
- It’s easy to clean below
- It fits to the design of the shoe closet (which is in the same hallway)
When I have some more time I want to add some lighting to it. Maybe with us being sent home again due to covid I might have some more time at hand for that.
Takeaway
My key takeaway is to know which problem you want to solve. And then enjoy discovering the path the project takes while it unfolds. Don’t waste too much time on planning ahead. Keep it balanced. 🙂
Happy building to all!