Restoring the bike to it’s first iteration. Continuing the story of the Scott Chenango aka Packhorse. As mentioned in the last post the most tedious work of the whole restoration was sanding the frame. Since I don’t own a sandblaster I sanded it down over weeks by hand. I had ignored the good advice from Matthias not to do so 🙂 Every evening when the kids were in bed I’d take my sanding paper into the garage and continue. I reconstructed the time frame from the pictures on my phone. I started the project on the 28th of April and finished the repainting on 16th of May. So it took me 2 1/2 weeks.
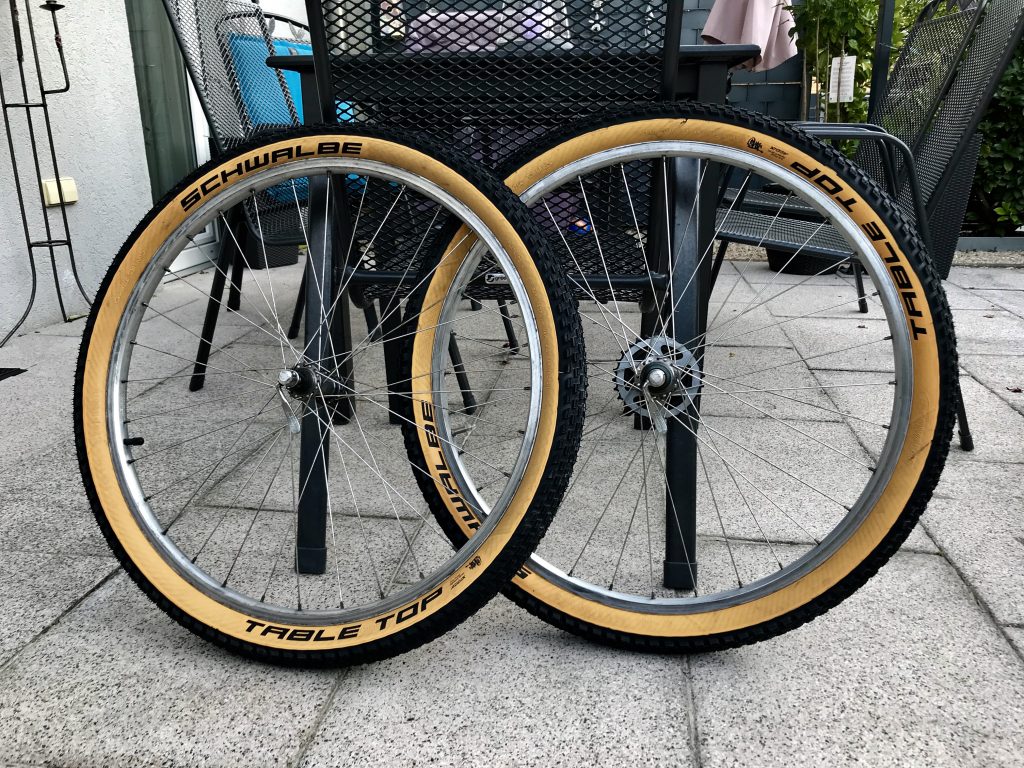
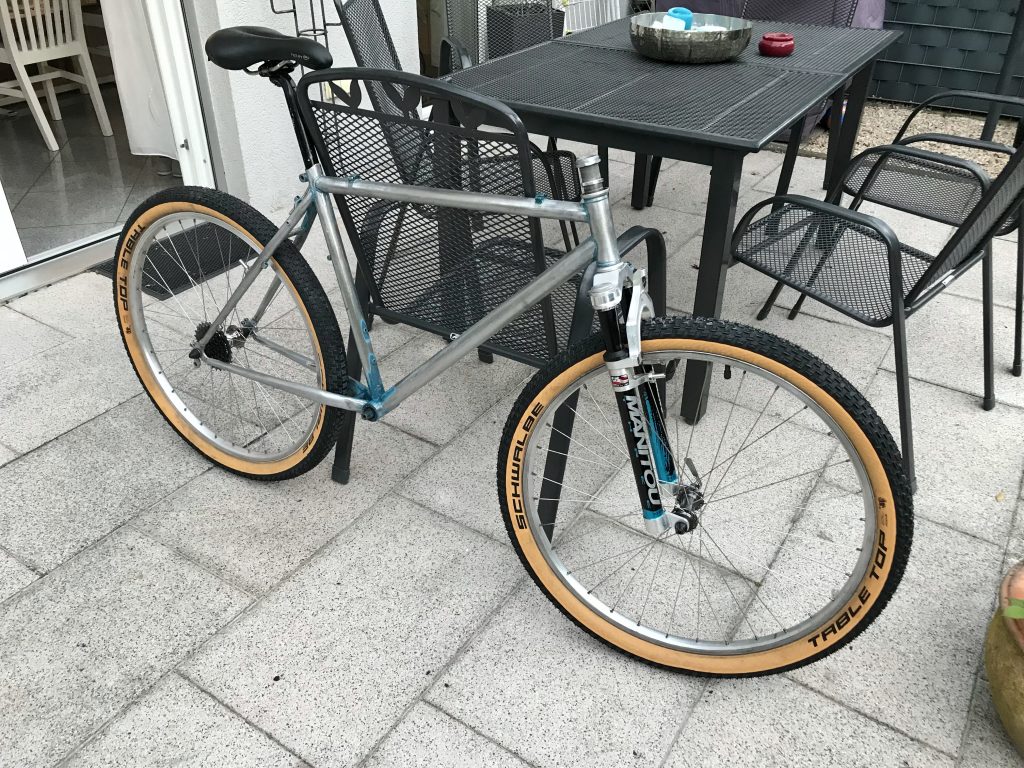
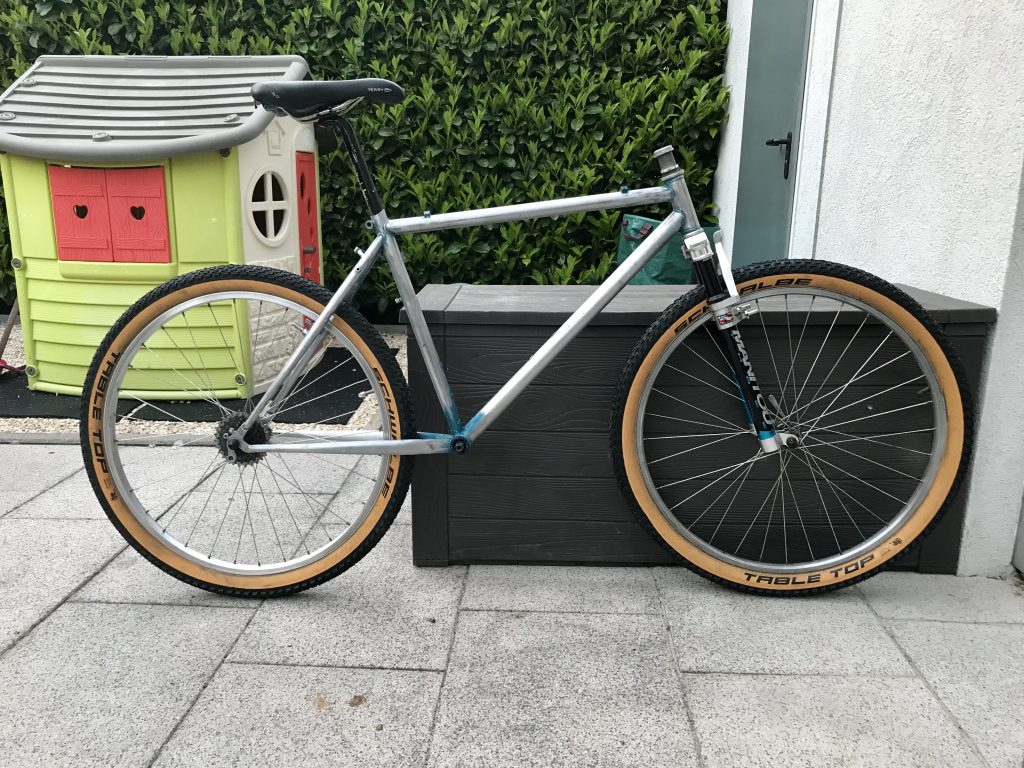
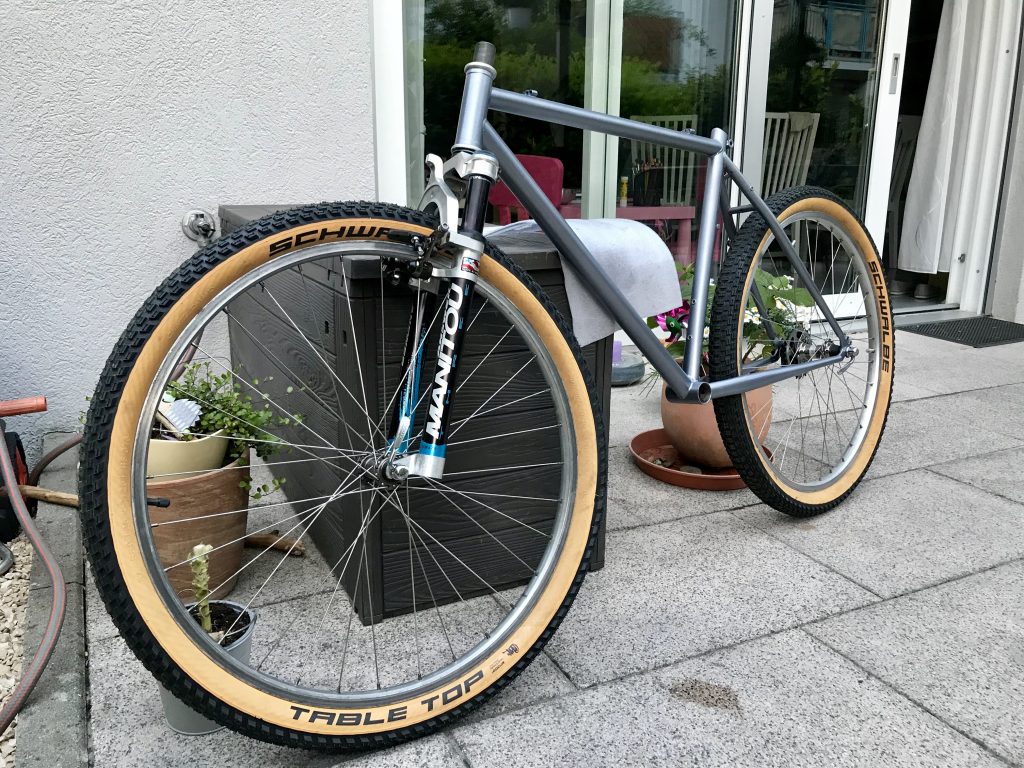
Bridging the time I found an old Answer Manitou fork which still more or less worked. To be honest – I just got it for the looks. Also found these really cool looking Schwalbe Table Top tires. They went right to the max capability of the frame at their 2.25 inch / 57 mm. I painted the bike in a metallic silver look. It turned out to have a very slight blue touch to it in the end. Not intended but I like it up until nowadays. On the last picture (bottom right) you can see the frame already re-painted.

When painting a frame you will have a lot of waiting to be filled. I used the time to take each and every bit of the bike apart, clean it, fix or replace it. Most tricky part was the shifters. Always impressed what a little WD40 magic can achieve. When finally all layers from primer, color, decals, to the finishing varnish had been completed, I had all parts back in working condition. So I took the original parts and stuck the bike back together again. As usual finishing late at night. Another very important detail was to re-attach the little metal plate from Scott. I had carefully removed and touched up the colors to look almost new again.


Pleased with the first result and the extension of my bike tools during the project. But as you might guess this is just the first iteration of the bike.